I am someone who loves having her nails painted. I feel weird when they aren’t done. And so I have been to many salons and have had all sorts of things done to my nails. I’ve had dip nails, gel nails, regularly painted nails, and acrylics.
And still, to this day, dip nails are my favorite. In my experiences, dip nails have lasted the longest and have maintained the longest in terms of chips, look, and more.
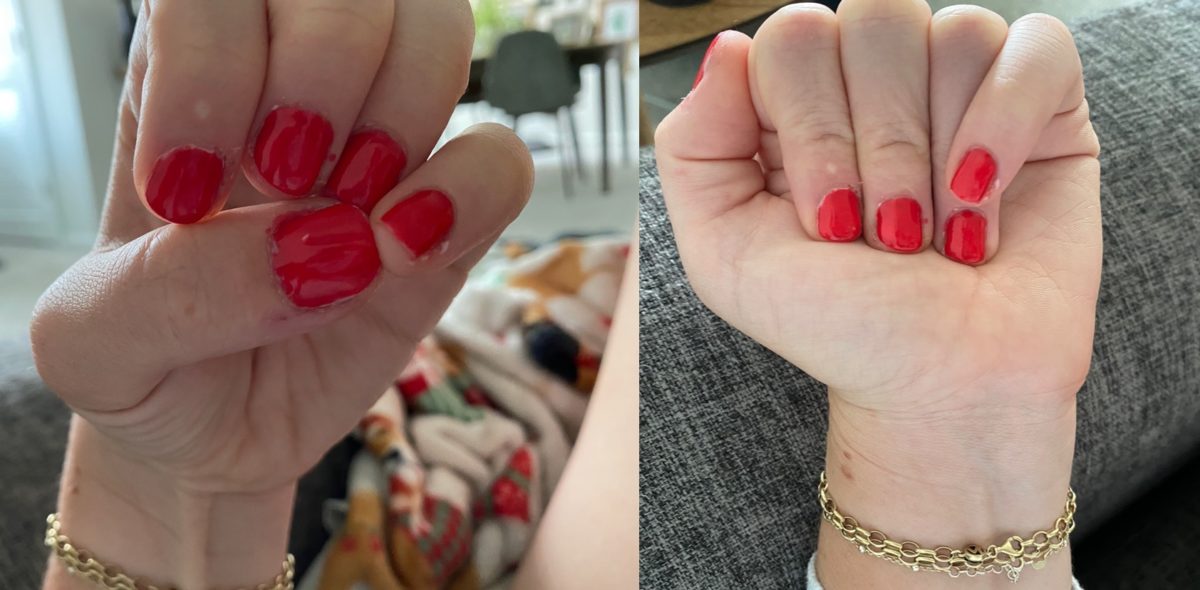
However, when the pandemic hit, and we were unable to go to the salon, I knew that learning how to do dip nails at home would not only give me something to do with my free time but also keep me happy. So I bought all of the things I would need and tried my best to remember what had been done to me countless times by professionals.
And while my nails never look quite as good as when I paid someone to do them, dip nails at home last as long as they do if they were done at the salon and it’s surprisingly not as hard as I thought it would be. So this is a step-by-step of how to do dip nails at home and the products you will need to buy.
How to do dip nails at home:
1. Make sure your nails are clean and free from natural oils. I like to get rid of my old polish, then shape and buff my nails, and then go back in with a clean cotton ball of polish remover and clean them one more time.
Olive & June Acetone Free Nail Polish Remover
$7.99 at the time of publication
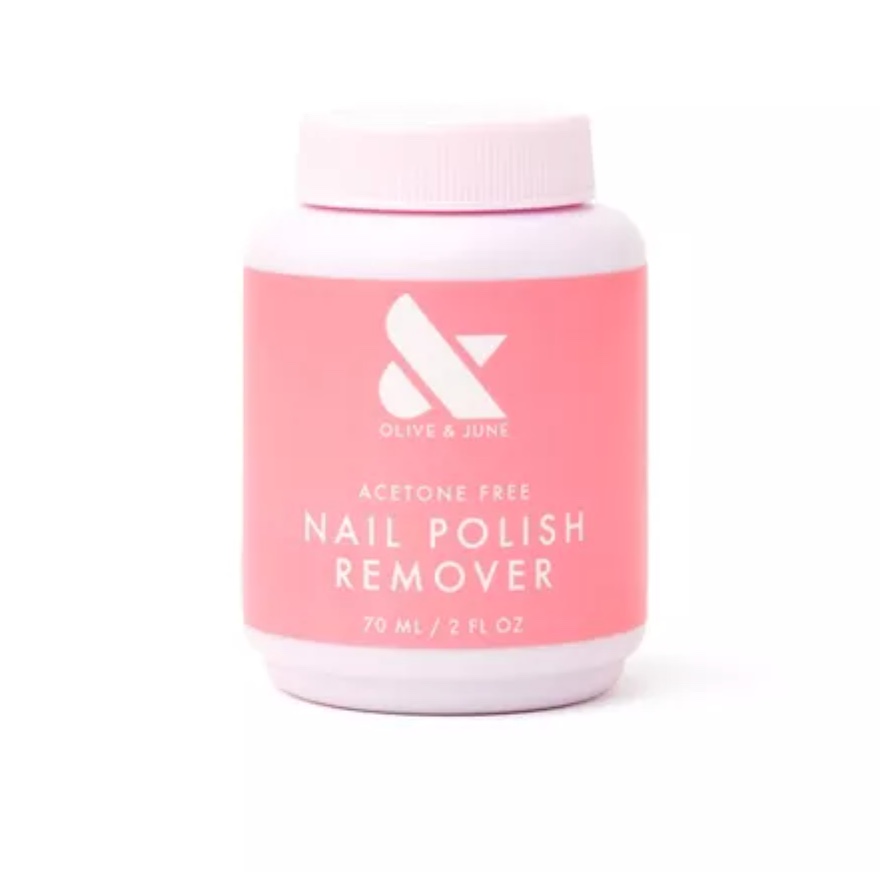
This is my favorite polish remover.
Olive & June Nail Buffer
$3.99 at the time of publication
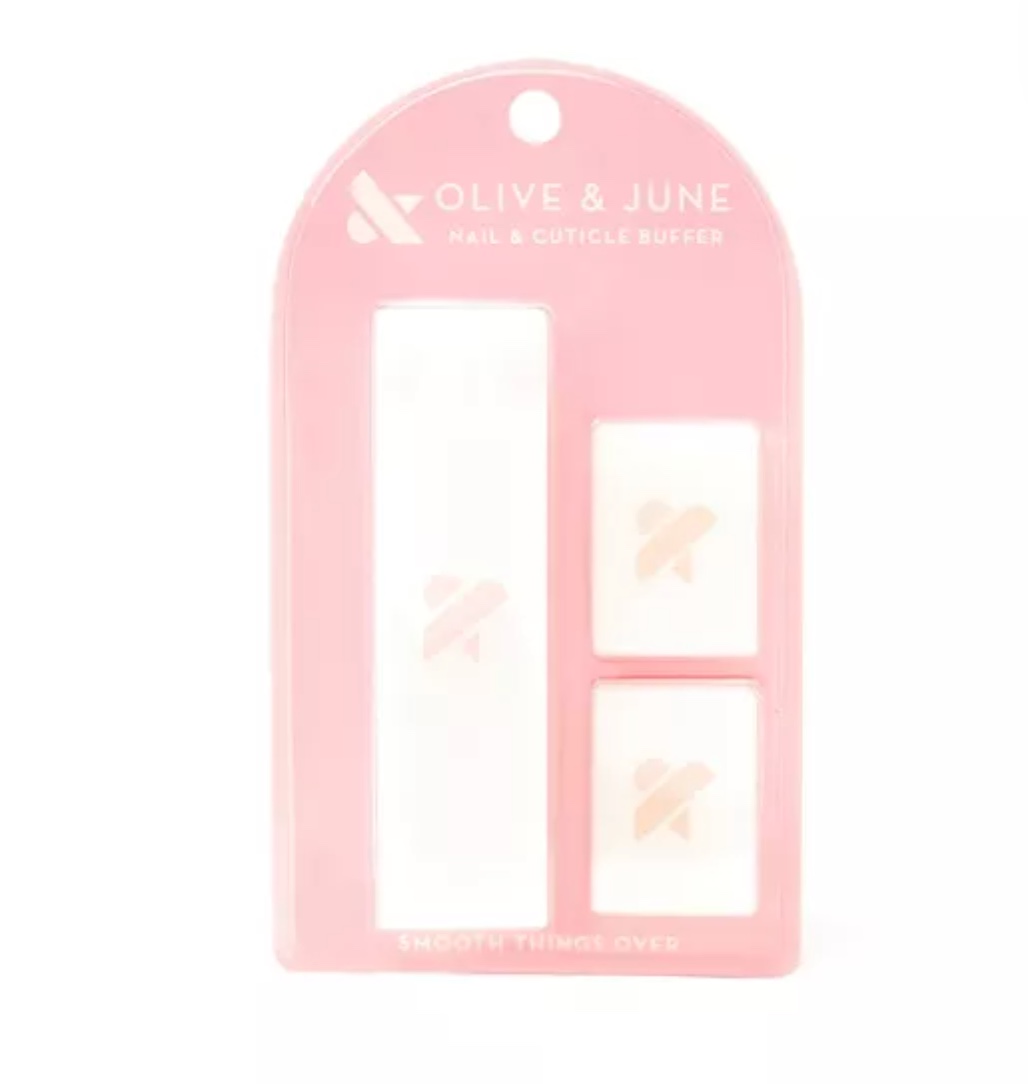
These Olive & June buffers are also my go-to and they work extremely well!
RELATED: The Best Nail Polish Is Now Available at Target…You Won’t Regret Become Olive & June Fans
Olive & June Nail File
$3.99 at the time of publication
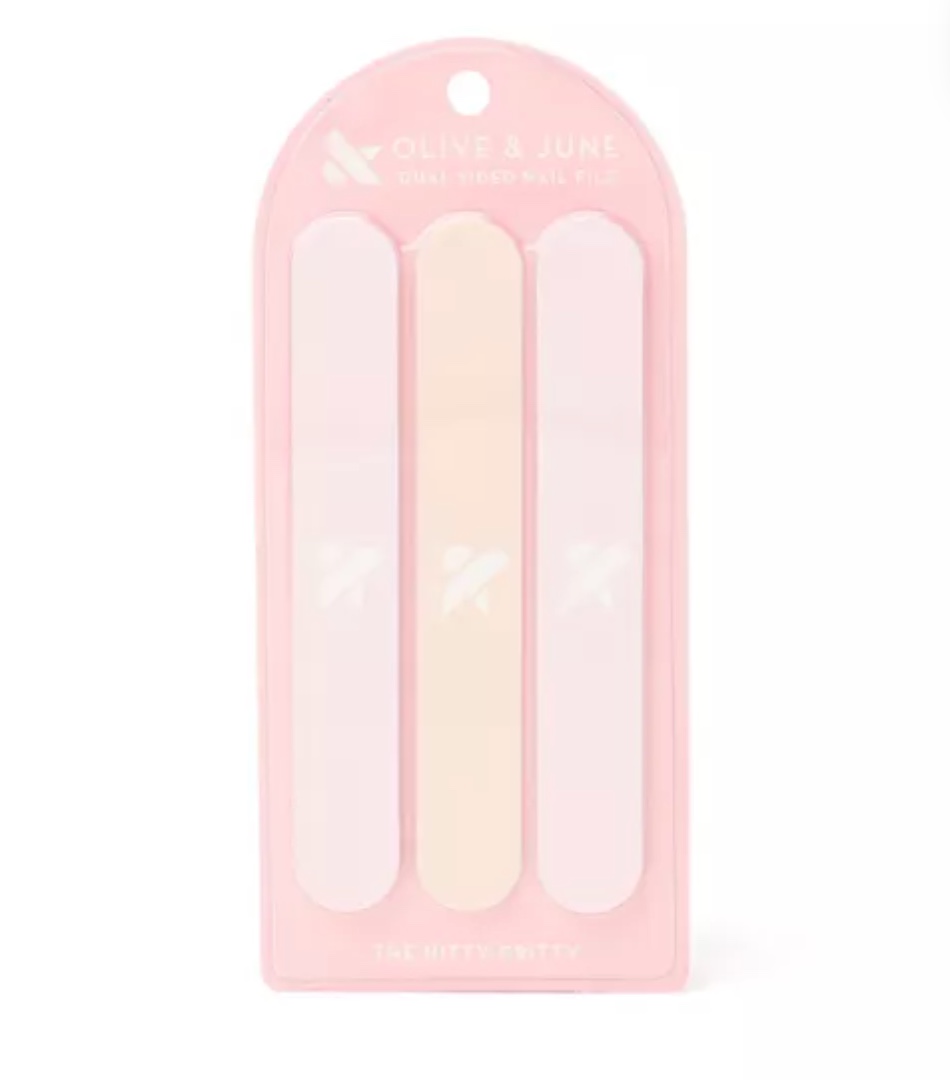
As are Olive & June’s nail files.
2. Once that is done, start with your base coat. I like to do one nail at a time. So paint on base polish and dip. Then repeat that for all five fingers. Remember to tap off the access polish each time you dip by tapping your knuckle on the side of the container.
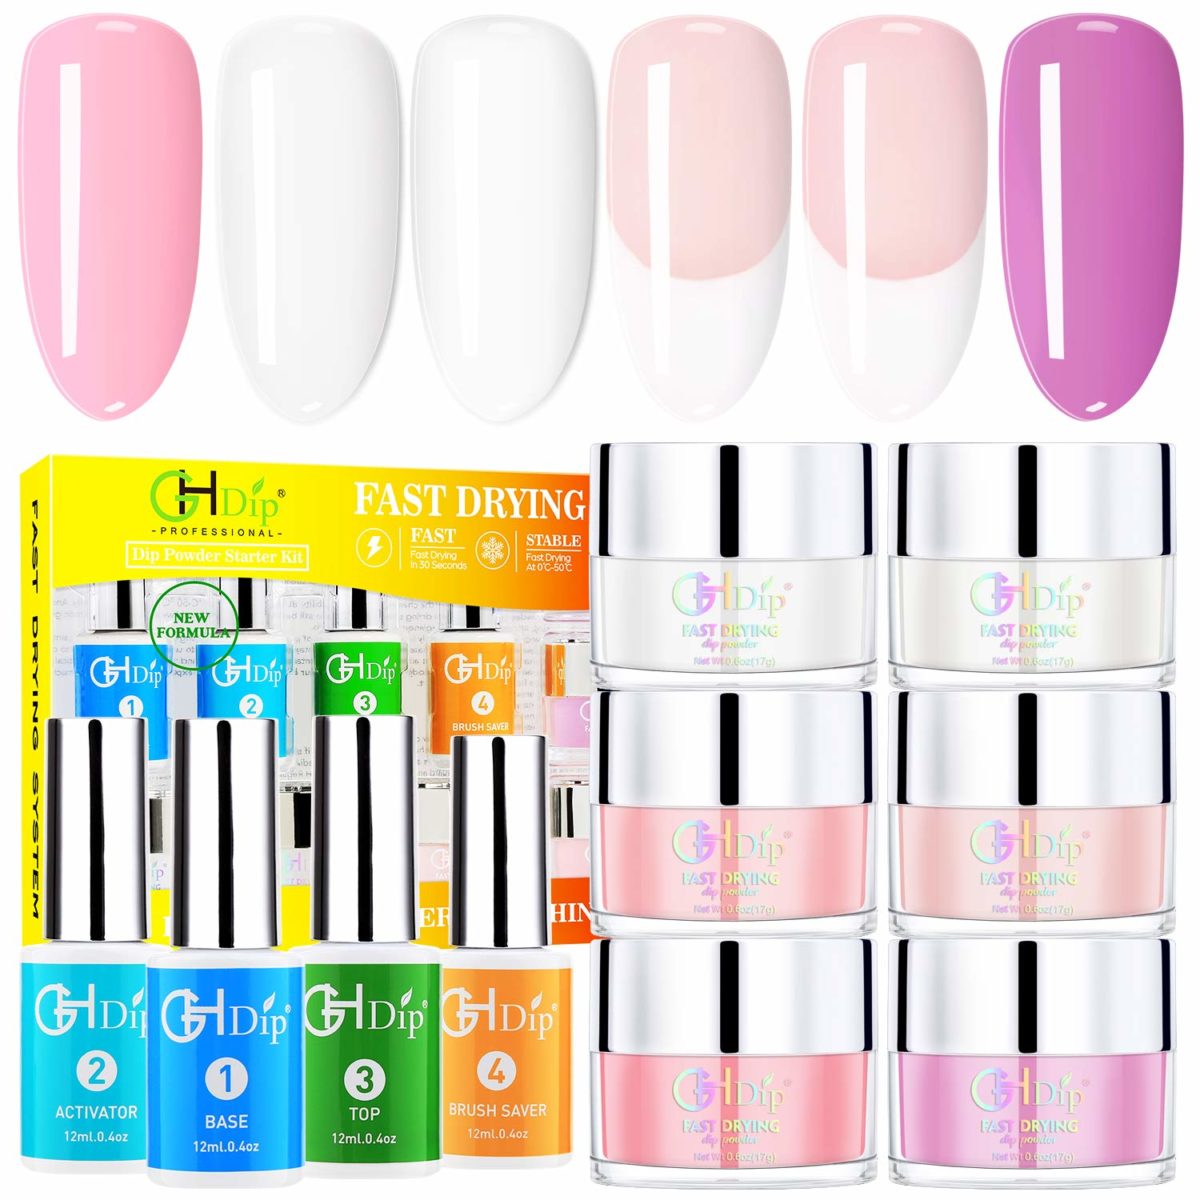
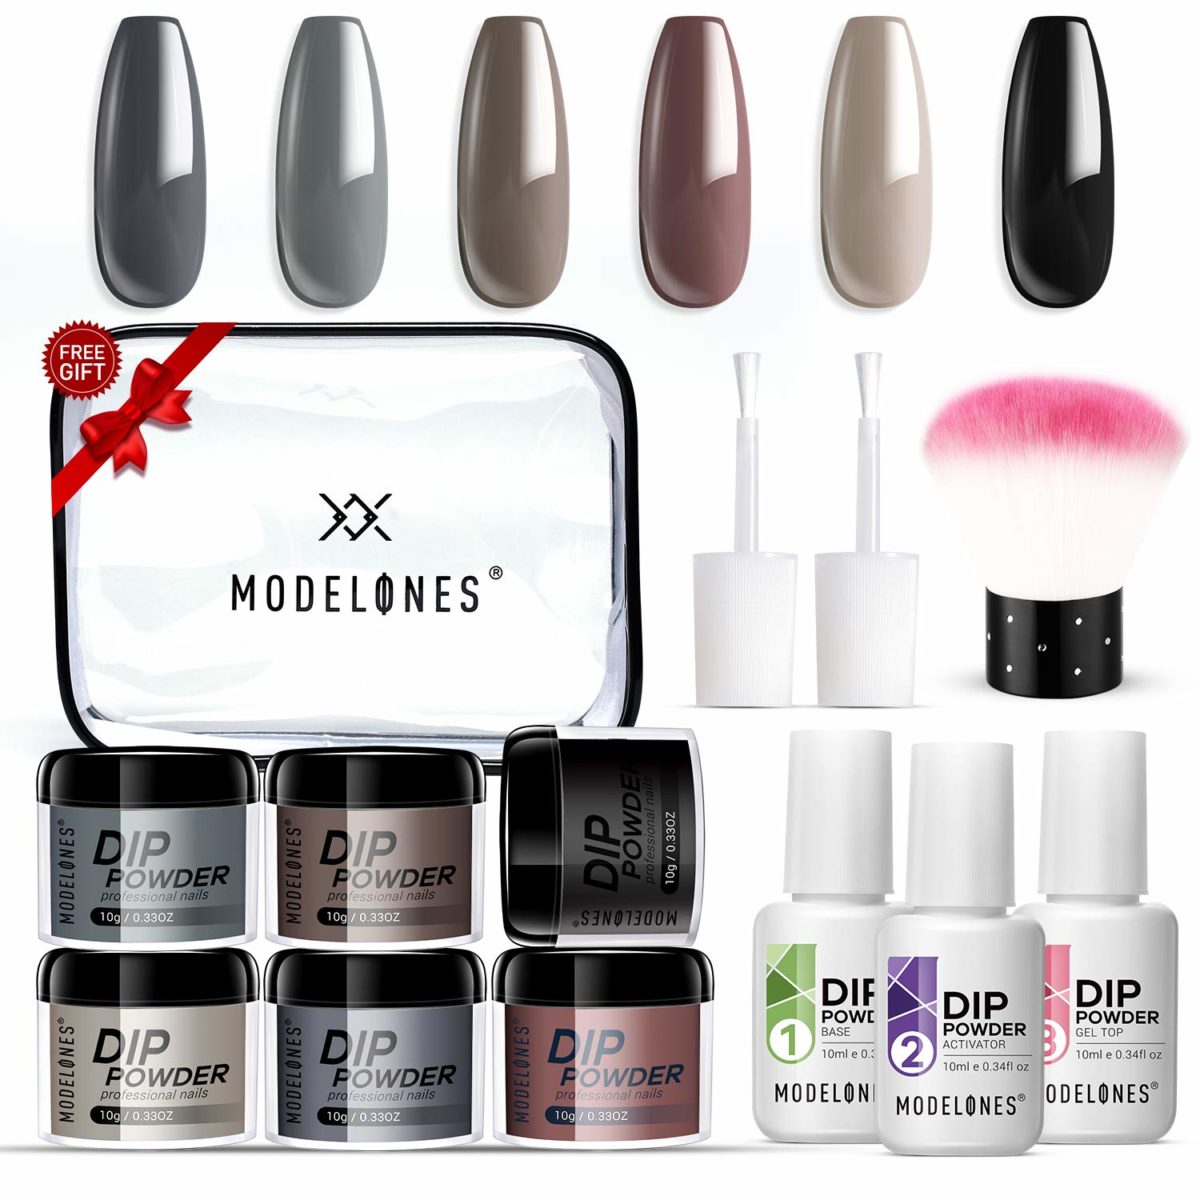
These are the kits I have used since I started doing dip nails at home:
Dip Powder Nail Kit
$24.99 at the time of publication
Dip Powder Nail Starter Kit
$9.99 at the time of publication
3. I prefer dipping my nails in a white powder before dipping in my color. I think it gives a more even color. However, it is perfectly fine to just do two coats of the color of your choice. So for step three, I will be repeating step two, creating a second coat.
OneDor Nail Dip Dipping Powder
$8.99 at the time of publication
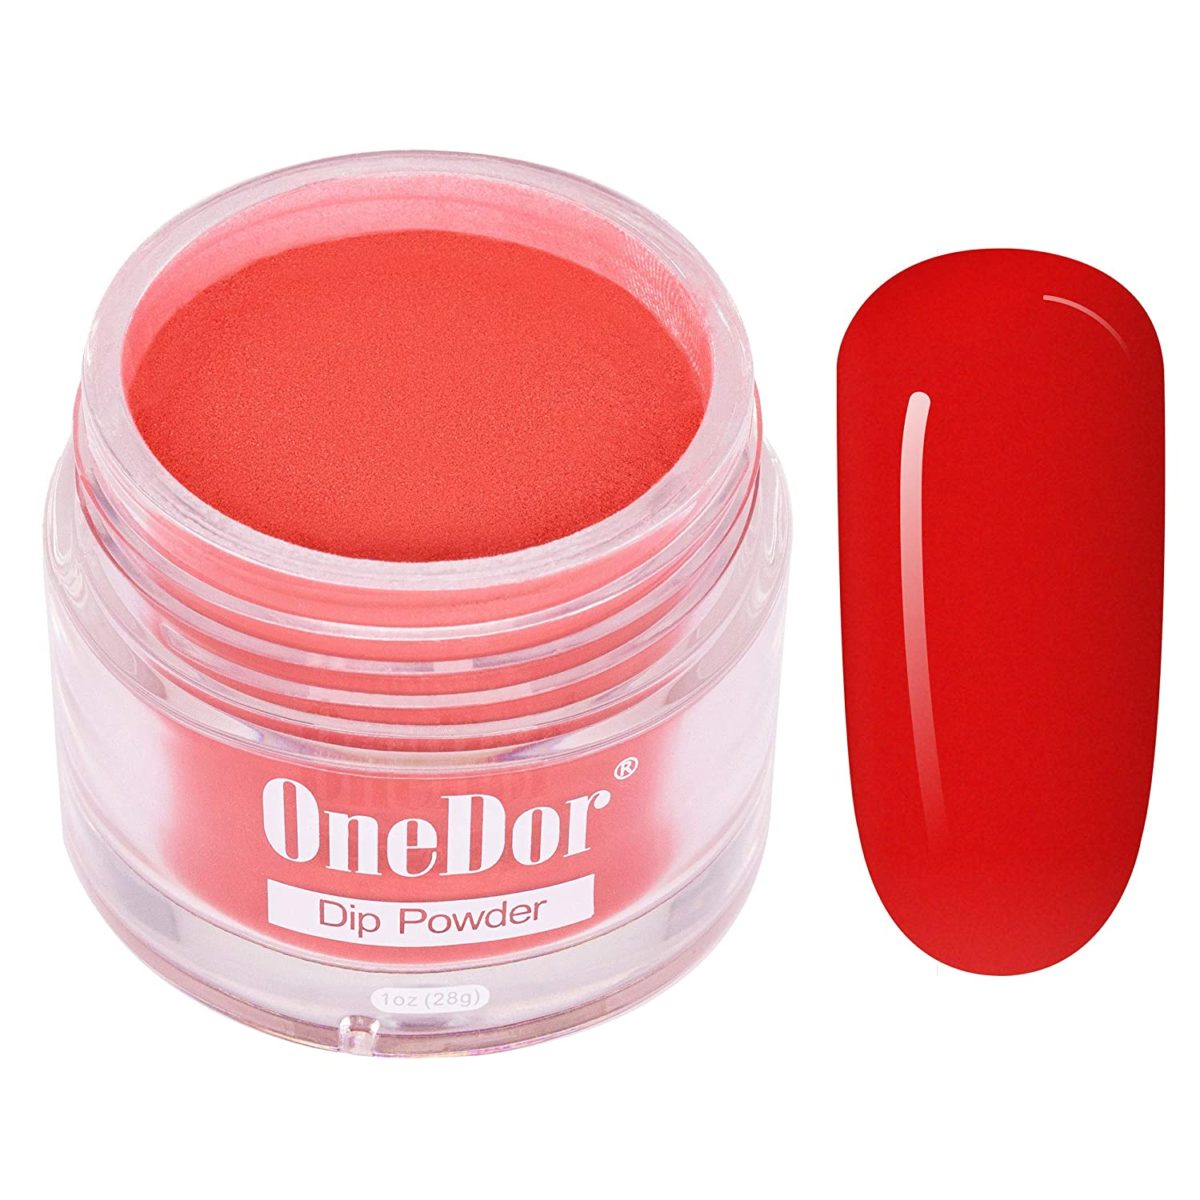
I’m always looking for the perfect red, which is my favorite color to wear on my nails, and this is it.
4. Now, once your nails have two coats on them and they cured for about 30-seconds, it’s time to paint on the activator.
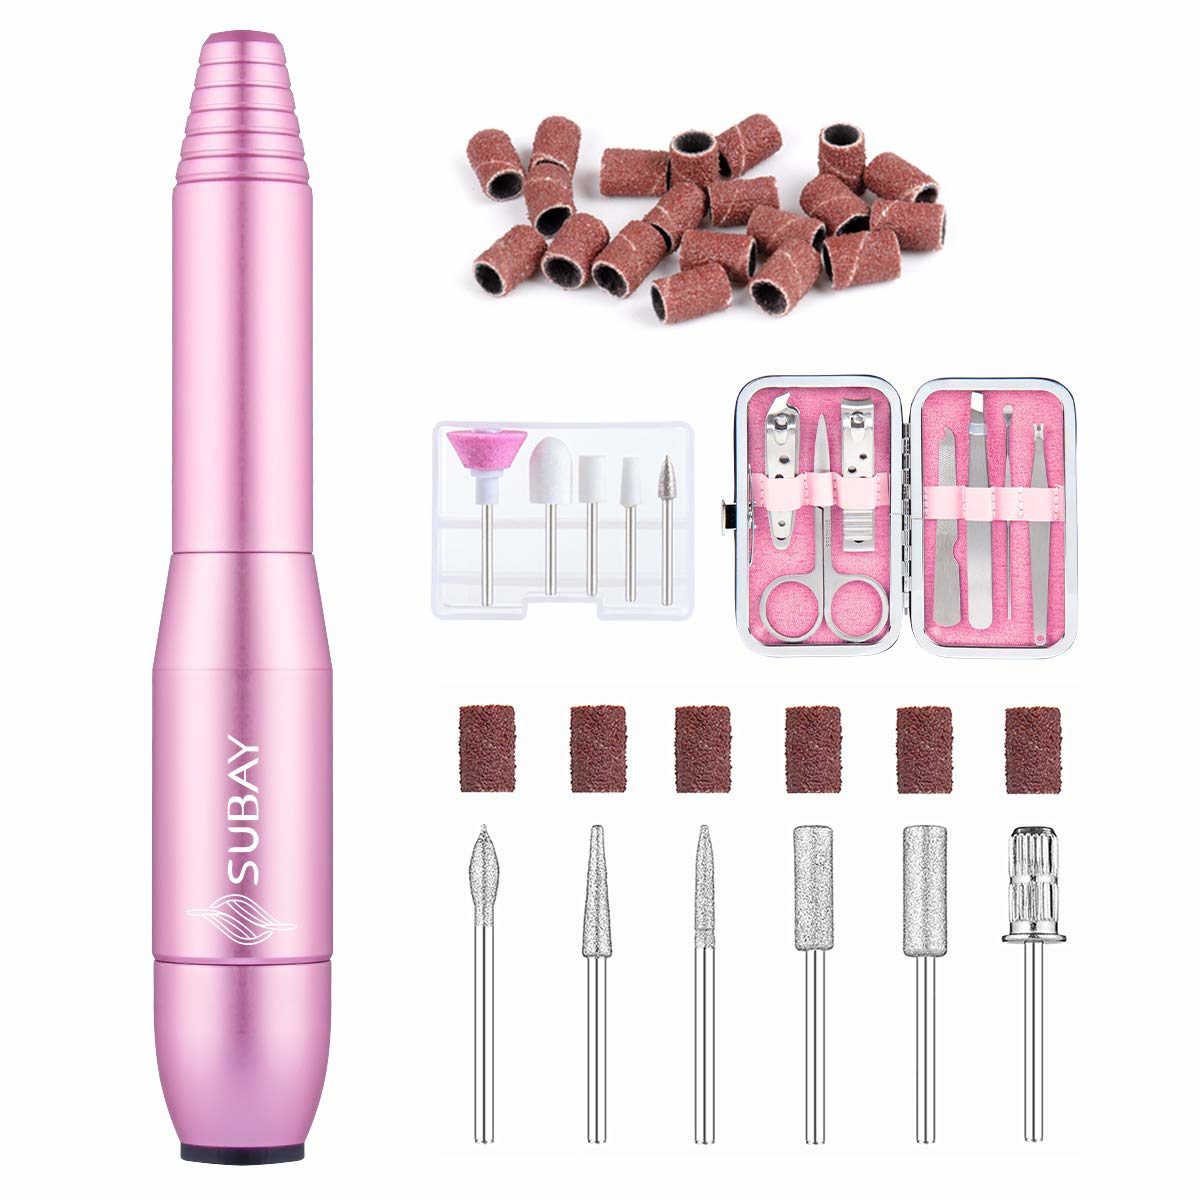
5. Now that the powder has been activated, this is when you go in to fix any imperfections. I like to reshape my nail with the nail file and use a buffer to smooth out the activated powder. I also love using my electric nail drill kit for this part, however, a buffer works just fine if you don’t feel like spending that money.
Acrylic Electric Nail Drill Buffer Kit
$12.99 at the time of publication
6. And you’re almost finished! Once you’ve cleaned up and buffed your nails, it’s time for the topcoat. I like to do one coat, wait about 30-seconds and then do a second coat of topcoat.
After that, all you have to do is give it about a minute to dry and you’re finished! Now you have dip nails all completed from the comfort of your home! Are you excited to try it out? Let us know how you like it in the comments section!
Mamas Uncut is a participant in multiple affiliate programs, including Skimlinks, ShareASale, Commission Junction, and the Amazon Services LLC Associates Program, an affiliate advertising program designed to provide a means for sites to earn advertising fees by advertising and linking to Amazon.com. Mamas Uncut may earn a percentage of revenue generated from purchases made via the links in this post.
Mamas Uncut is a participant in the Target Affiliate Marketing Program, an affiliate advertising, and marketing program that pays advertising fees to sites that advertise and link to Target.com. Mamas Uncut may earn a percentage of revenue generated from purchases made via the links in this post.
Contents
Mamas Uncut is THE online place for moms. We cover the latest about motherhood, parenting, and entertainment as well – all with a mom-focused twist. So if you're looking for parenting advice from real parents, we have plenty of it, all for moms from moms, and also experts. Because, at the end of the day, our mission is focused solely on empowering moms and moms-to-be with the knowledge and answers they’re looking for in one safe space.
